
Composition
In all art composition is the intentional arrangement of elements in an image to create a pleasing effect that engages the viewer. It's all about making your images more compelling and capturing the attention of your audience. It's the difference between a 'snapshot' and a masterpiece and understanding it more will improve your photography greatly.
Unlike painters or other artists who have full control over their scene, photographers need to understand how to create good compositions out of the scenes we are presented with. This is why over the years we have established a number of hotly debated 'Rules of Composition'. They can help us point the viewer to the subject of our image, aid us in telling a story or just allow us to make people go 'WOW'
These 'Rules' are not the be-all-and-end-all of composition and there are some who would tell you that they can stifle creativity. However there are some very good reasons to learn and practice these rules.
- They help to give you a starting place for your images. Trying on one or more of these rules may lead you on the path to a better image
- They give you a language to help you understand why some images work and some don't.
- If you know them you can intentionally break them for effect.
There are a few pit falls of using these rules as well.
- All your images can look the same if you use the same composition over and over again.
- You could miss a better image by sticking to closely to the rules.
Sticking to the rules will not gaurentee that your images will be amazing they are the start. Working your scene and moving around it will help you find the right composition and we have some tips to help you make your subject pop. But first lets take a look at five common rules of composition to understand what they look like.

Rule of Thirds
With the rule of thirds you place your subject along one of the vertical or horizontal thirds of your frame.
This works well because we naturally want to place the subject of our photo in the middle of the frame. If you ever look through the average person's photo album you'll notice that in group photo the people's heads are in the centre of the frame leaving a bunch of nothing above their heads and cutting off the bodies at the bottom of the frame. By placing the subject to the side you make your image more dynamic.
For landscapes there is a simple guide for using thirds. If the sky is most interesting place the horizon on the bottom third, if the ground is more interesting place the horizon on the top third. This way the most interesting part of the image takes up the most realestate in the frame.


Leading Lines
Find natural lines in your scene and make them point to your subject. It's like you are pointing at it, just in a more subtle way.
This can also be called lead-in lines but it's very simple. If there are natural lines in your image make them point at the subject of your image. Don't make it any more complex than that.


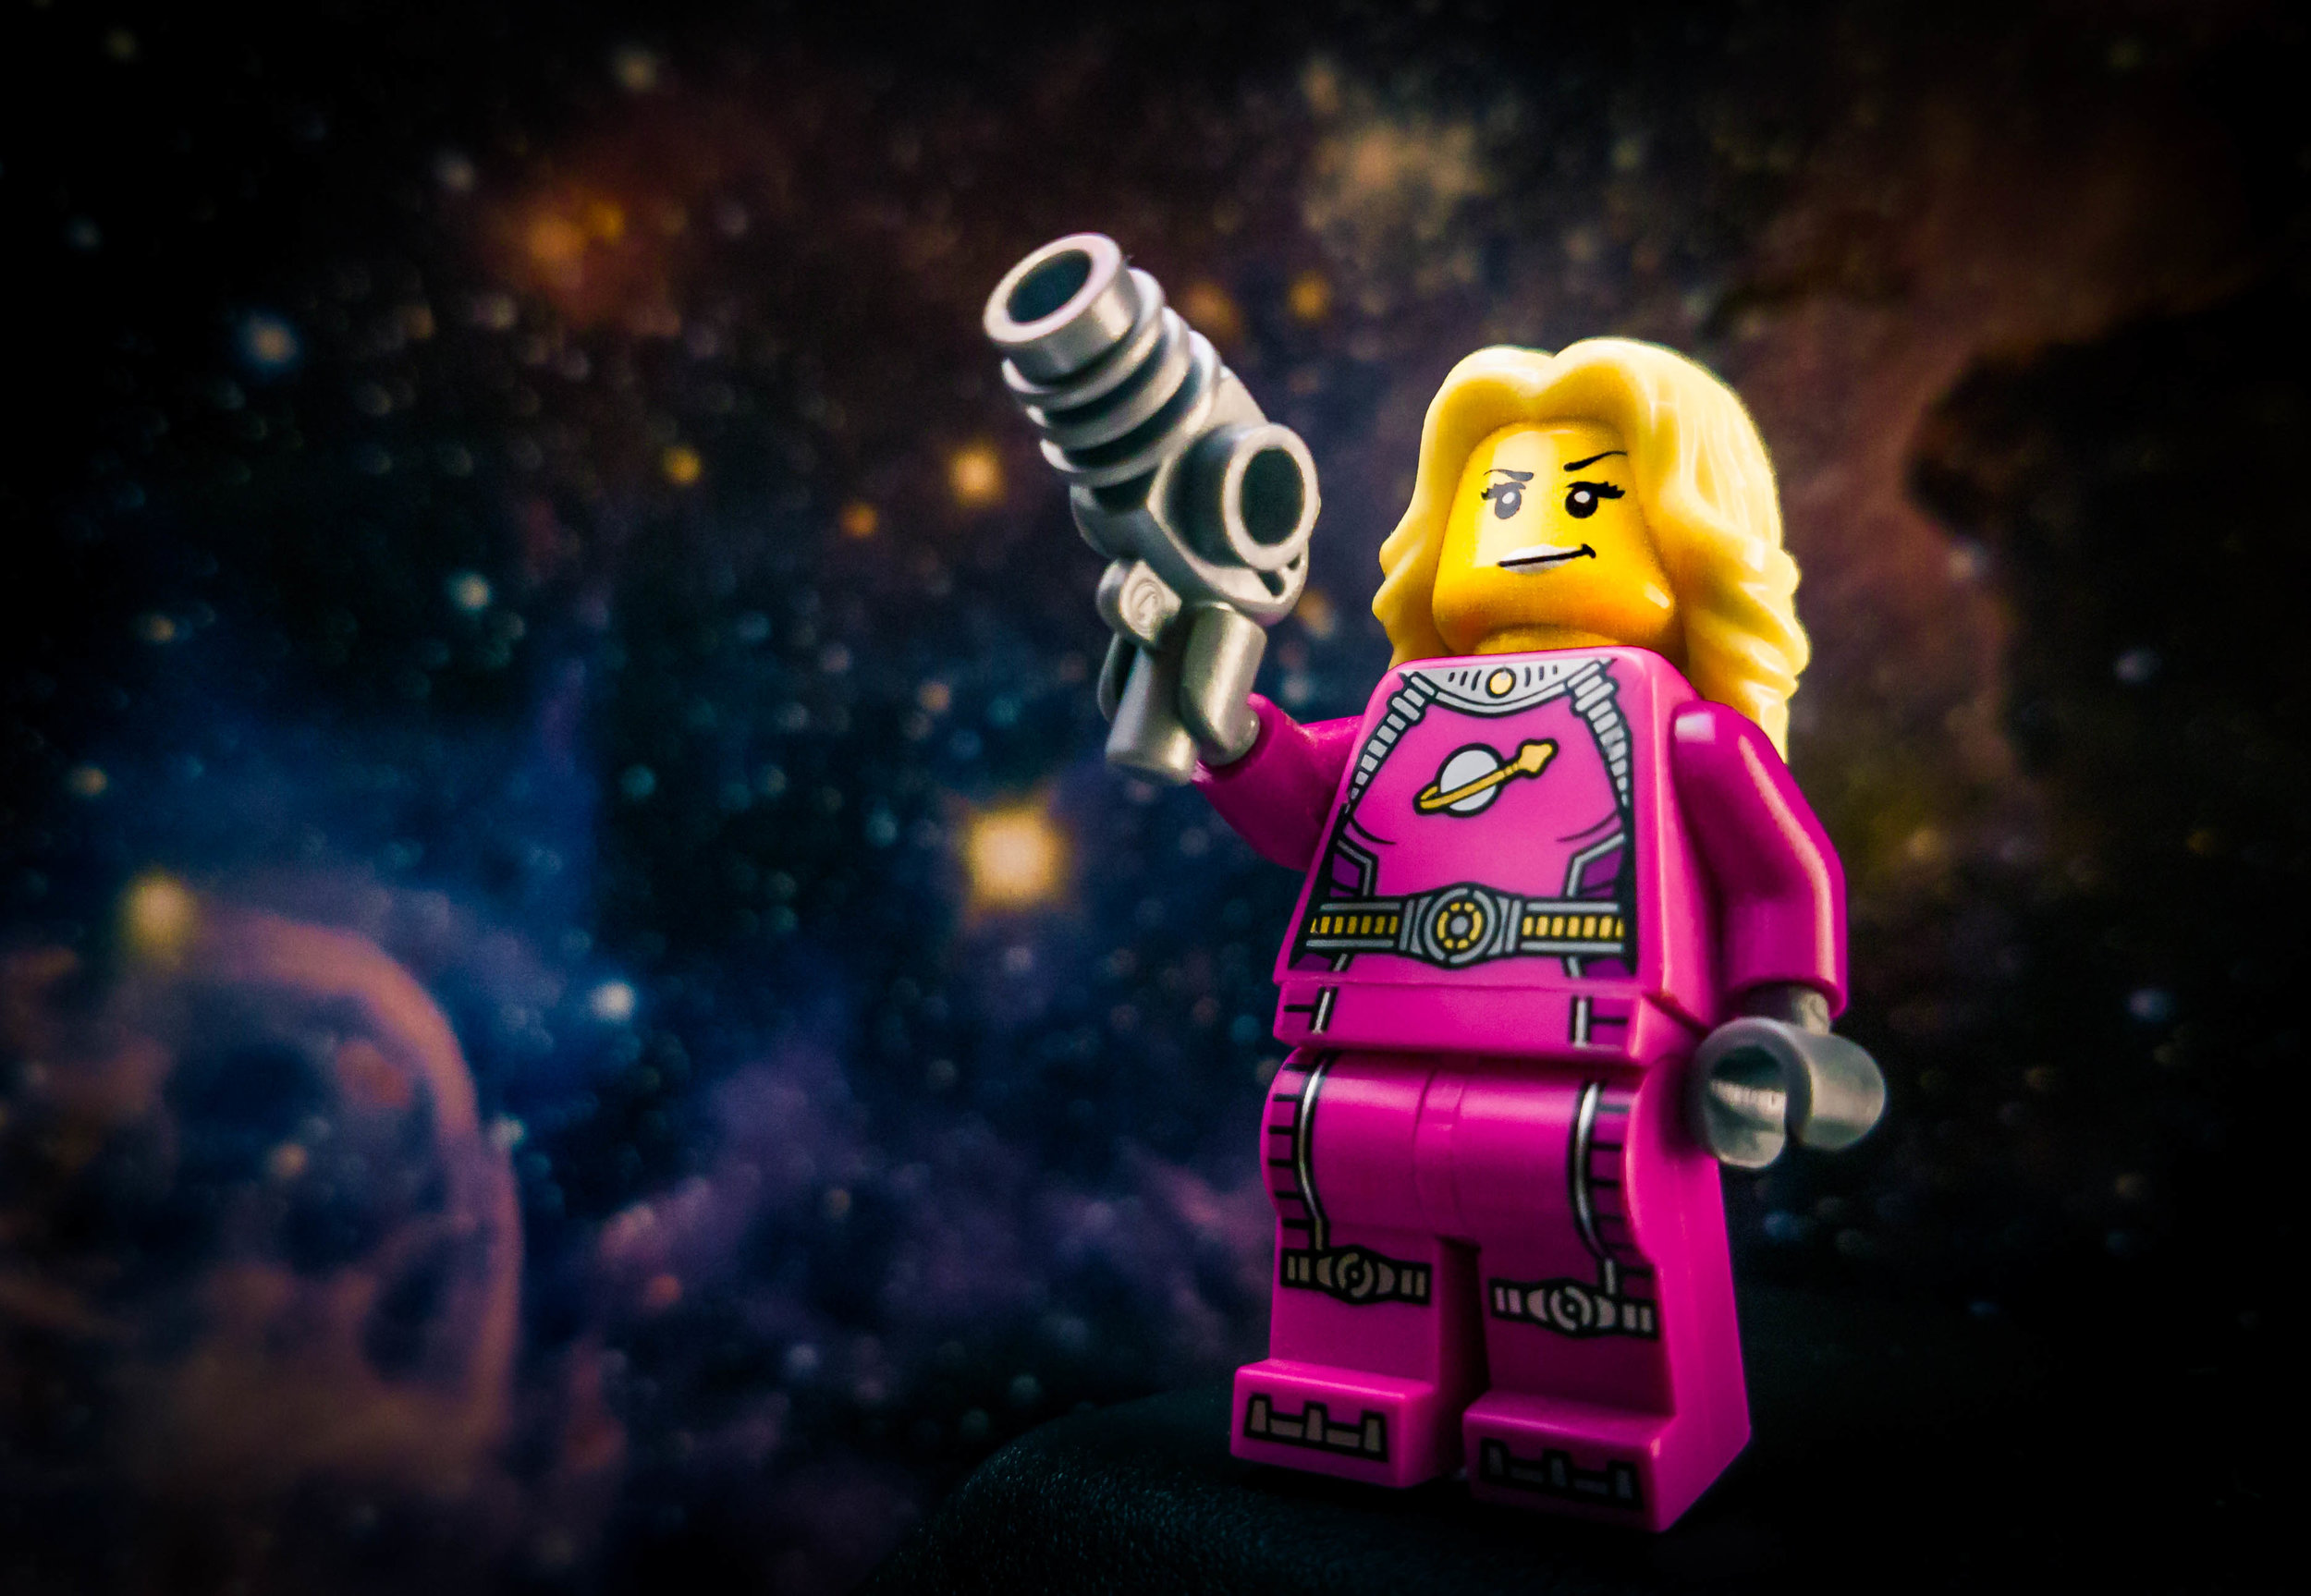
Filling the Frame
Make your subject take up the whole frame.
It's pretty straight forward, there are no distractions if the subject is the only thing you can see.


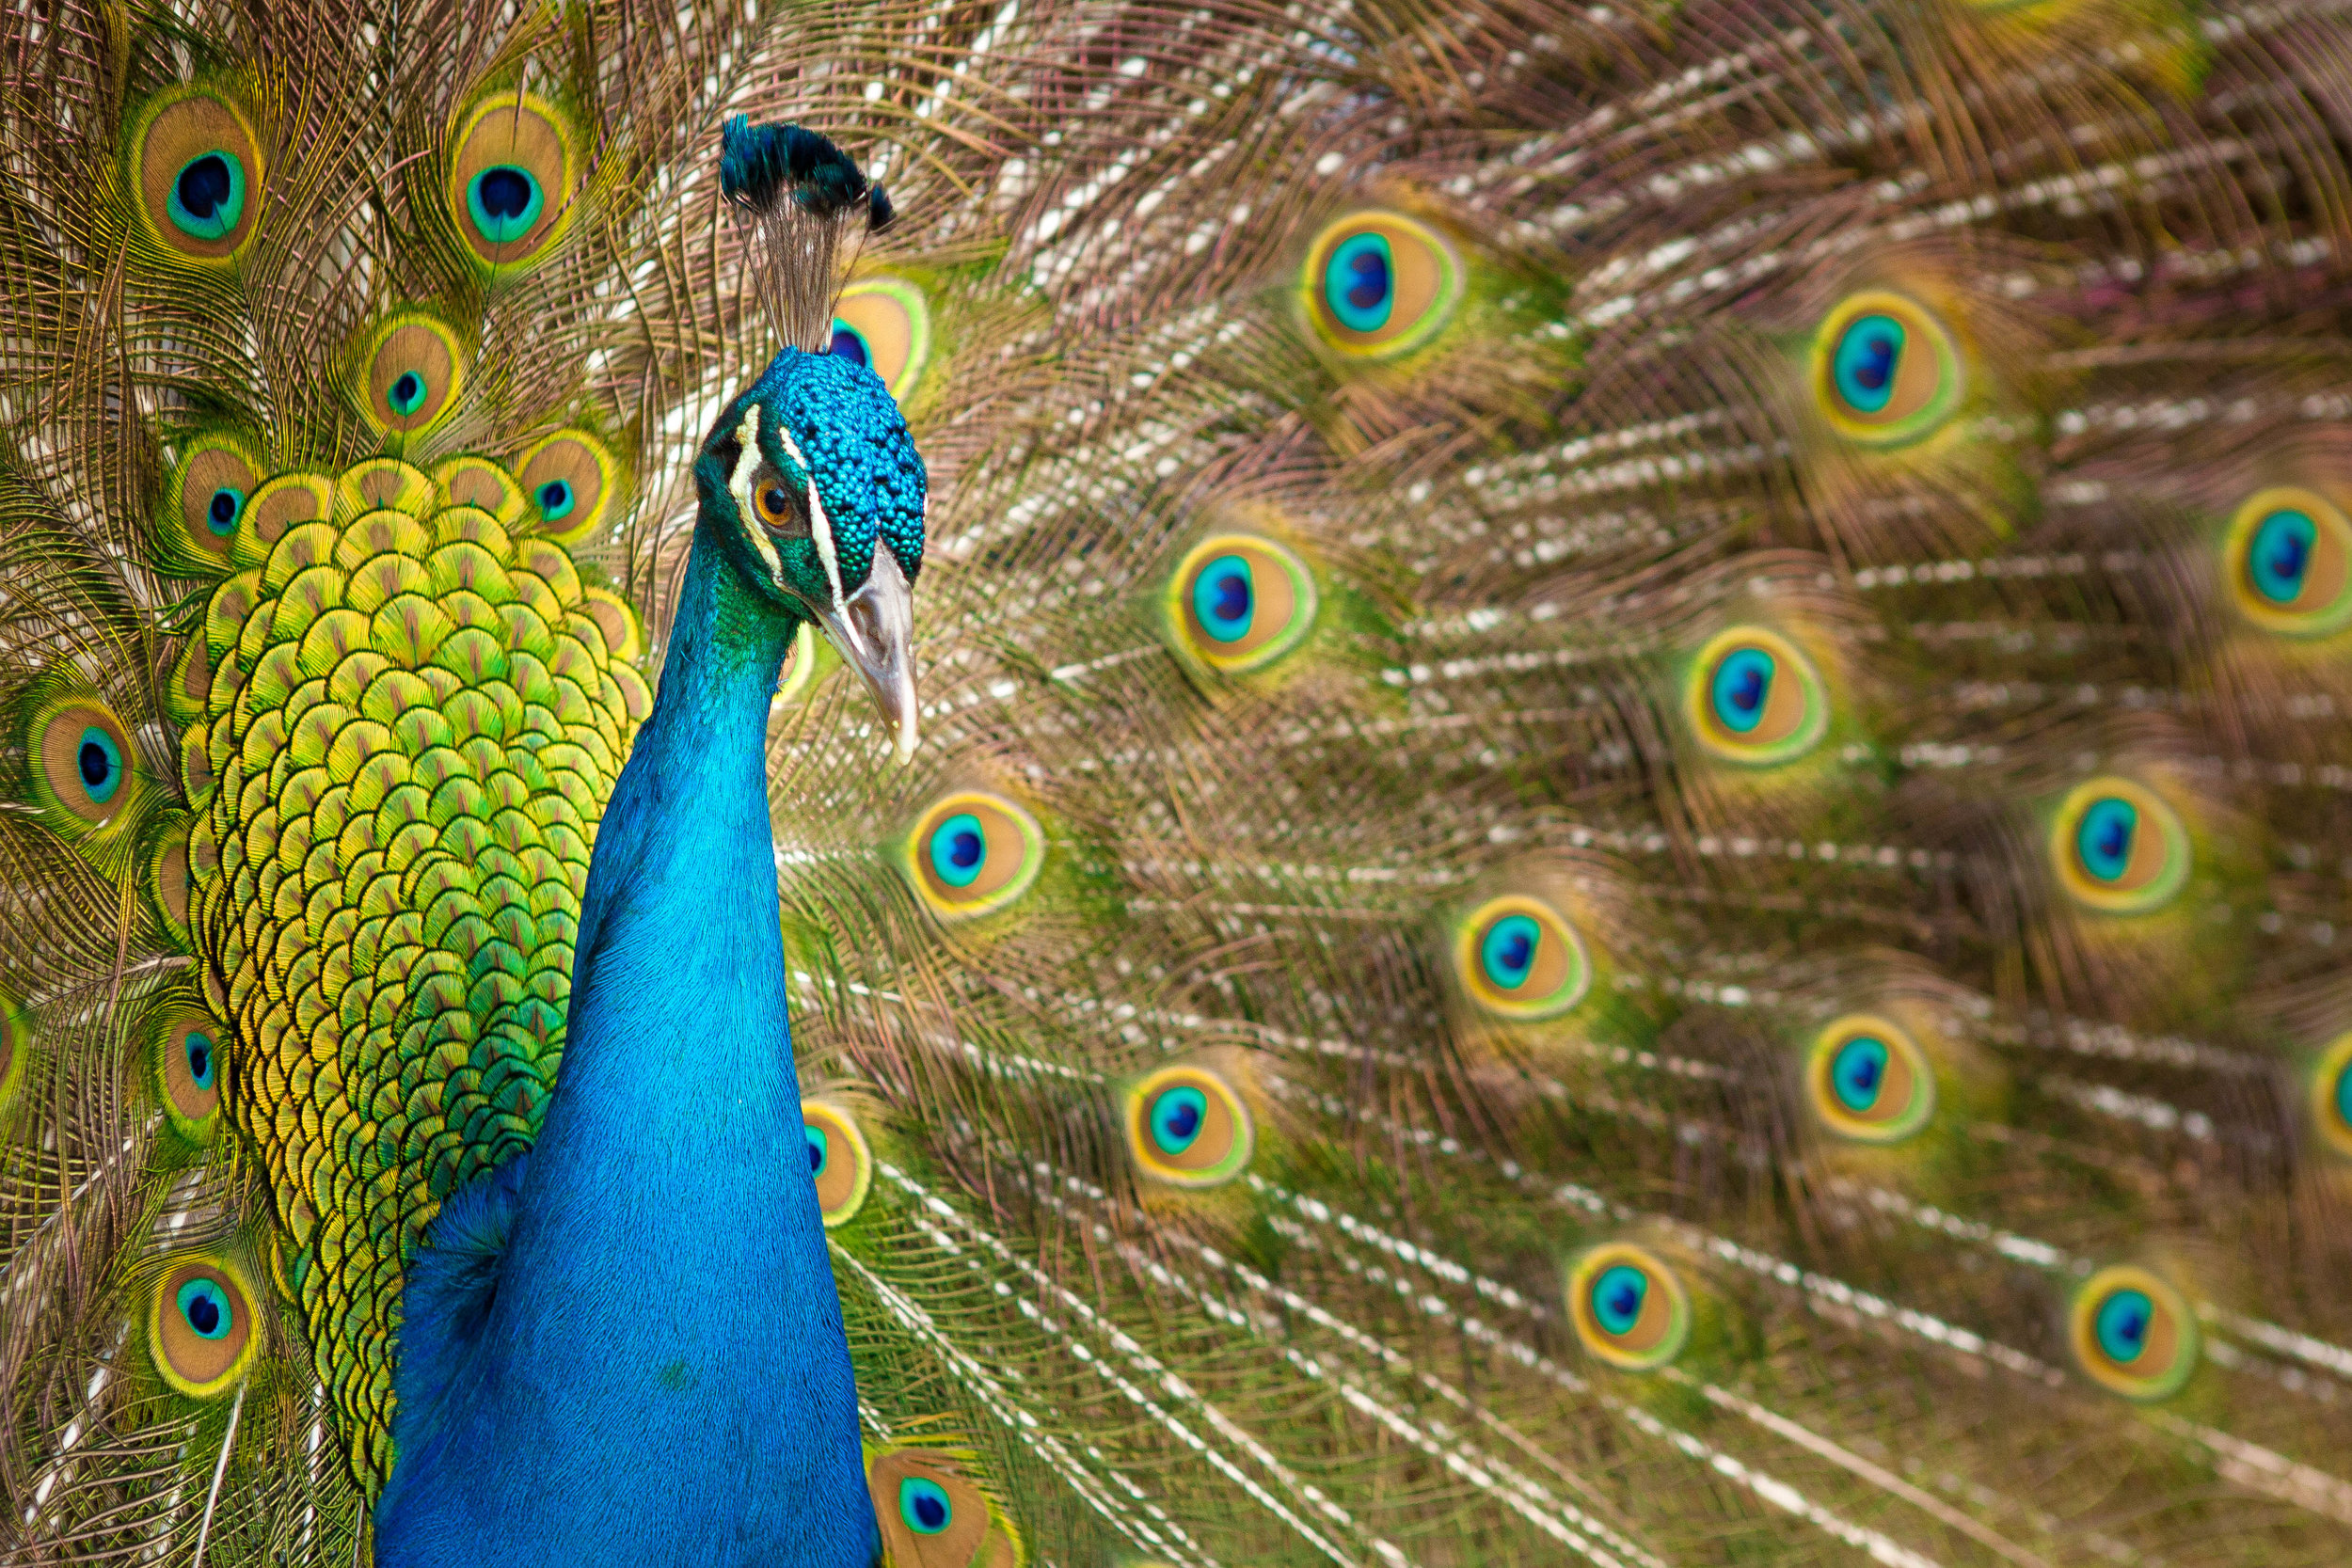
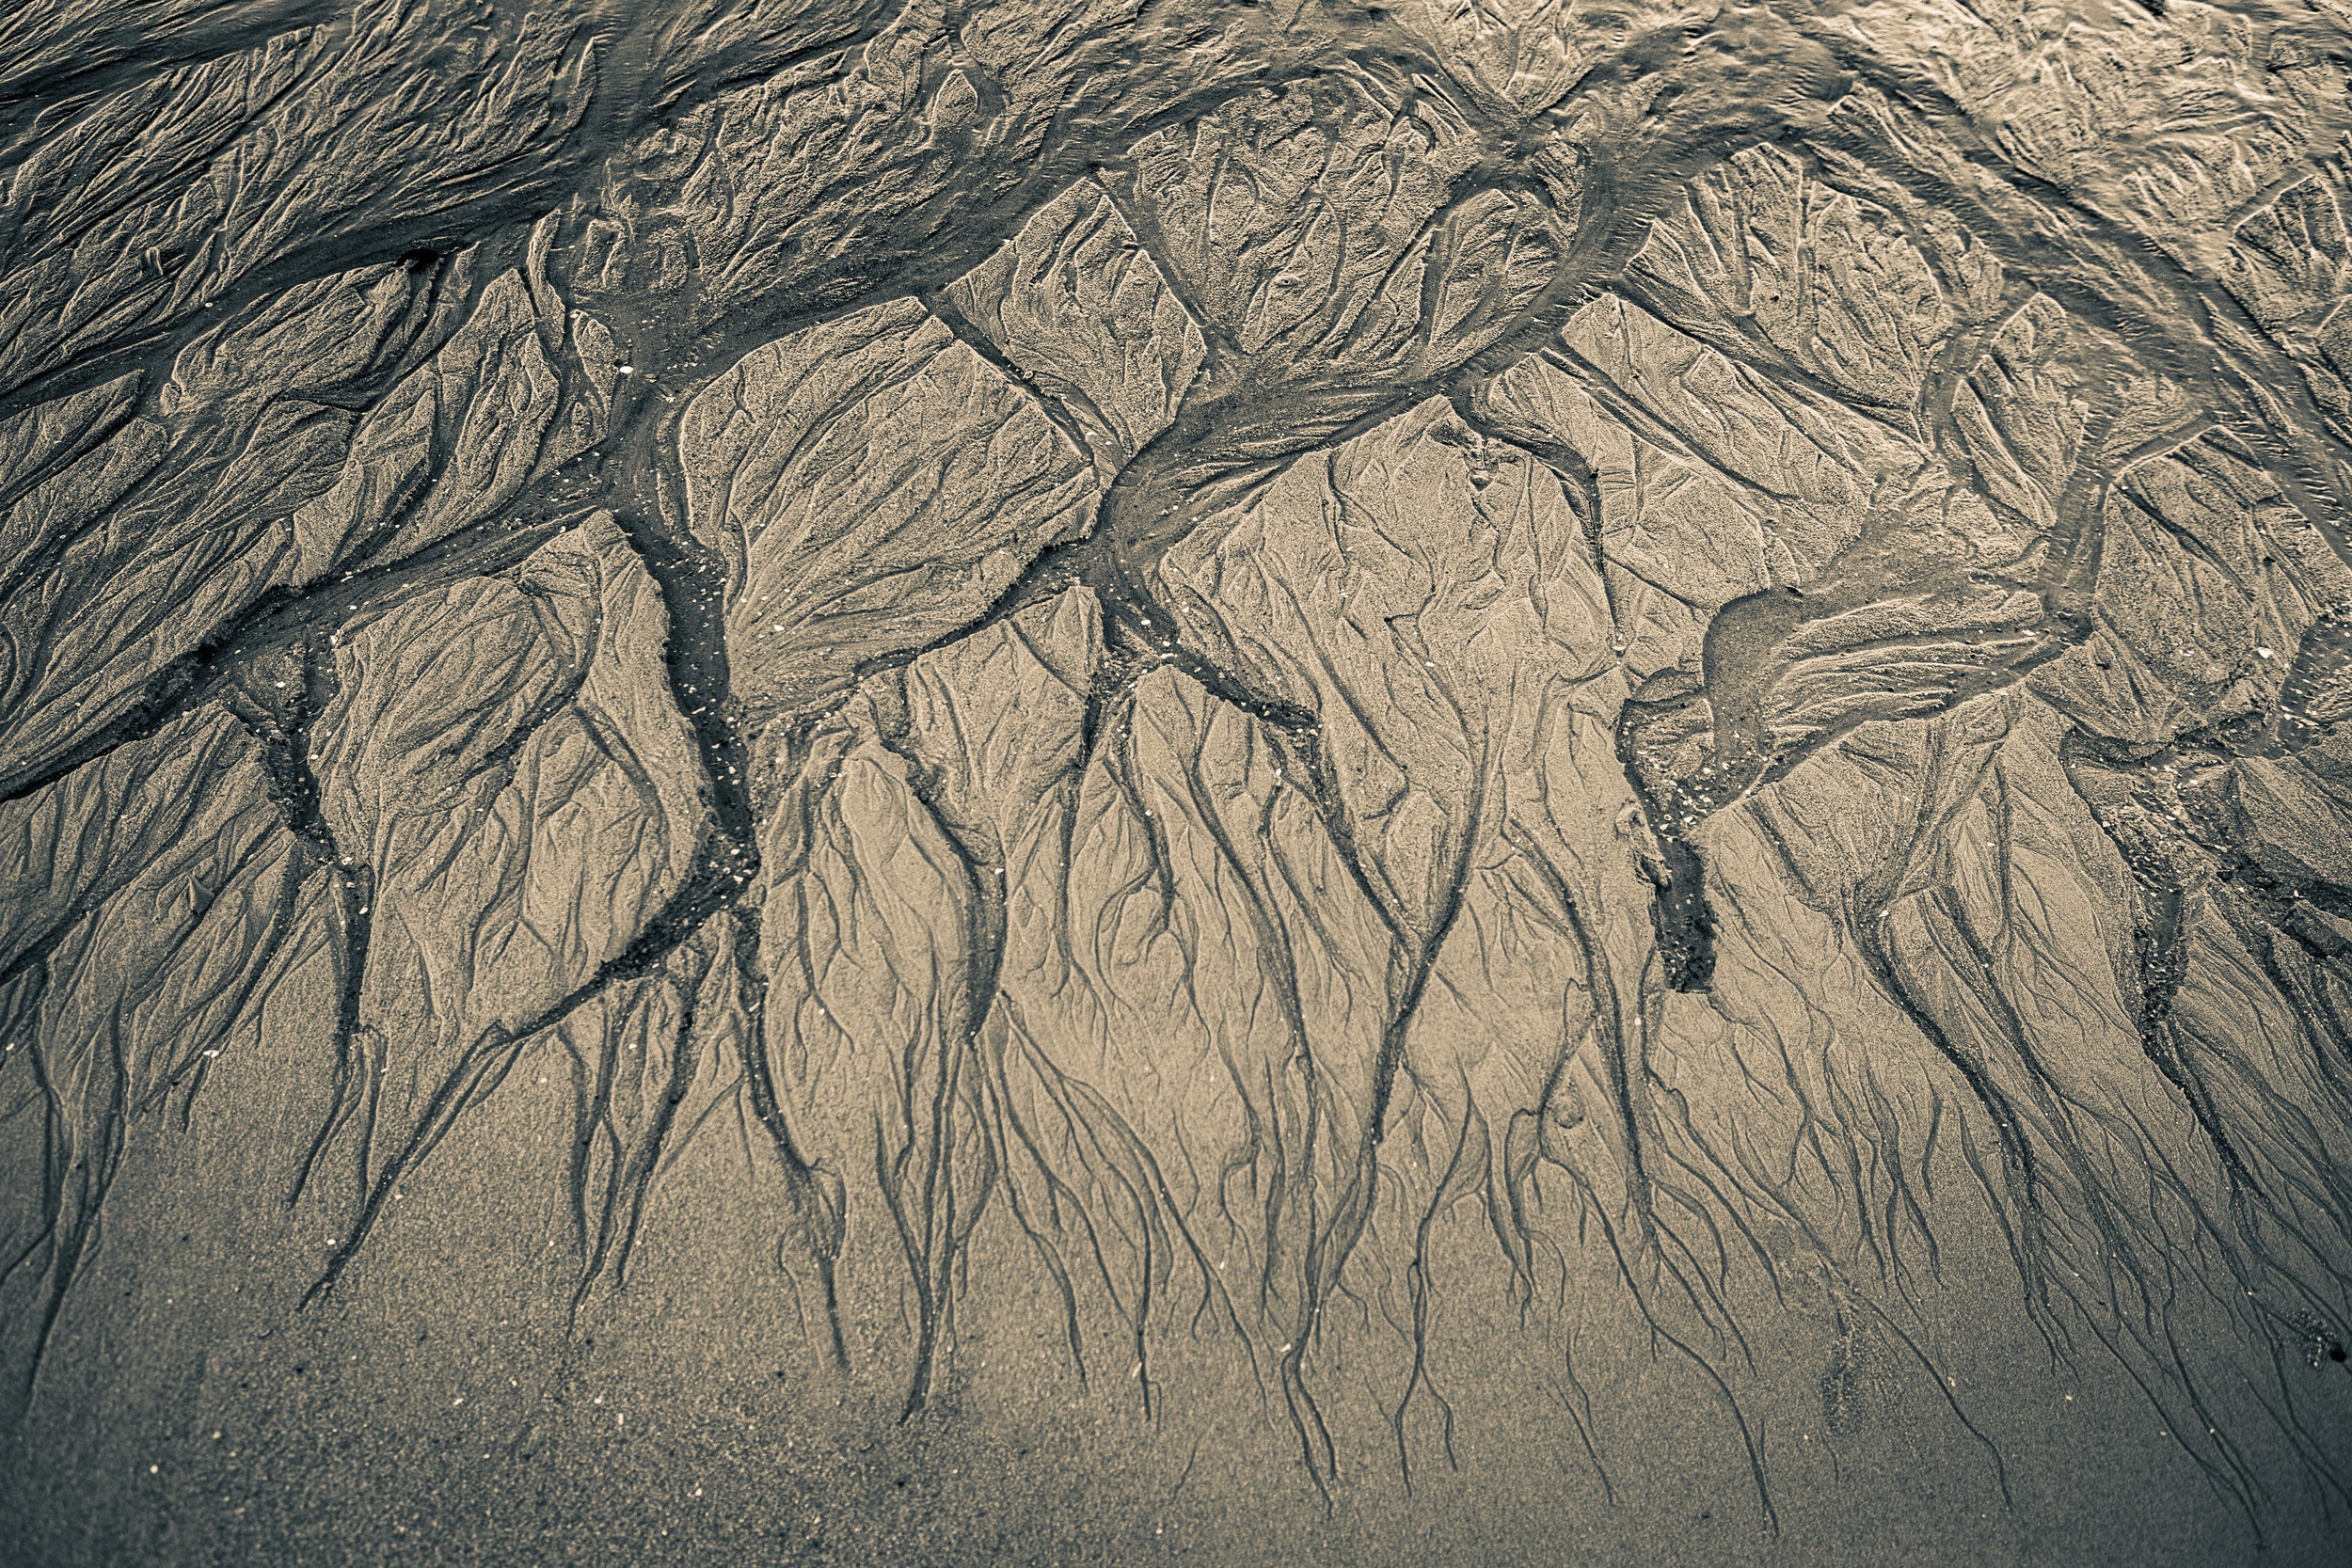
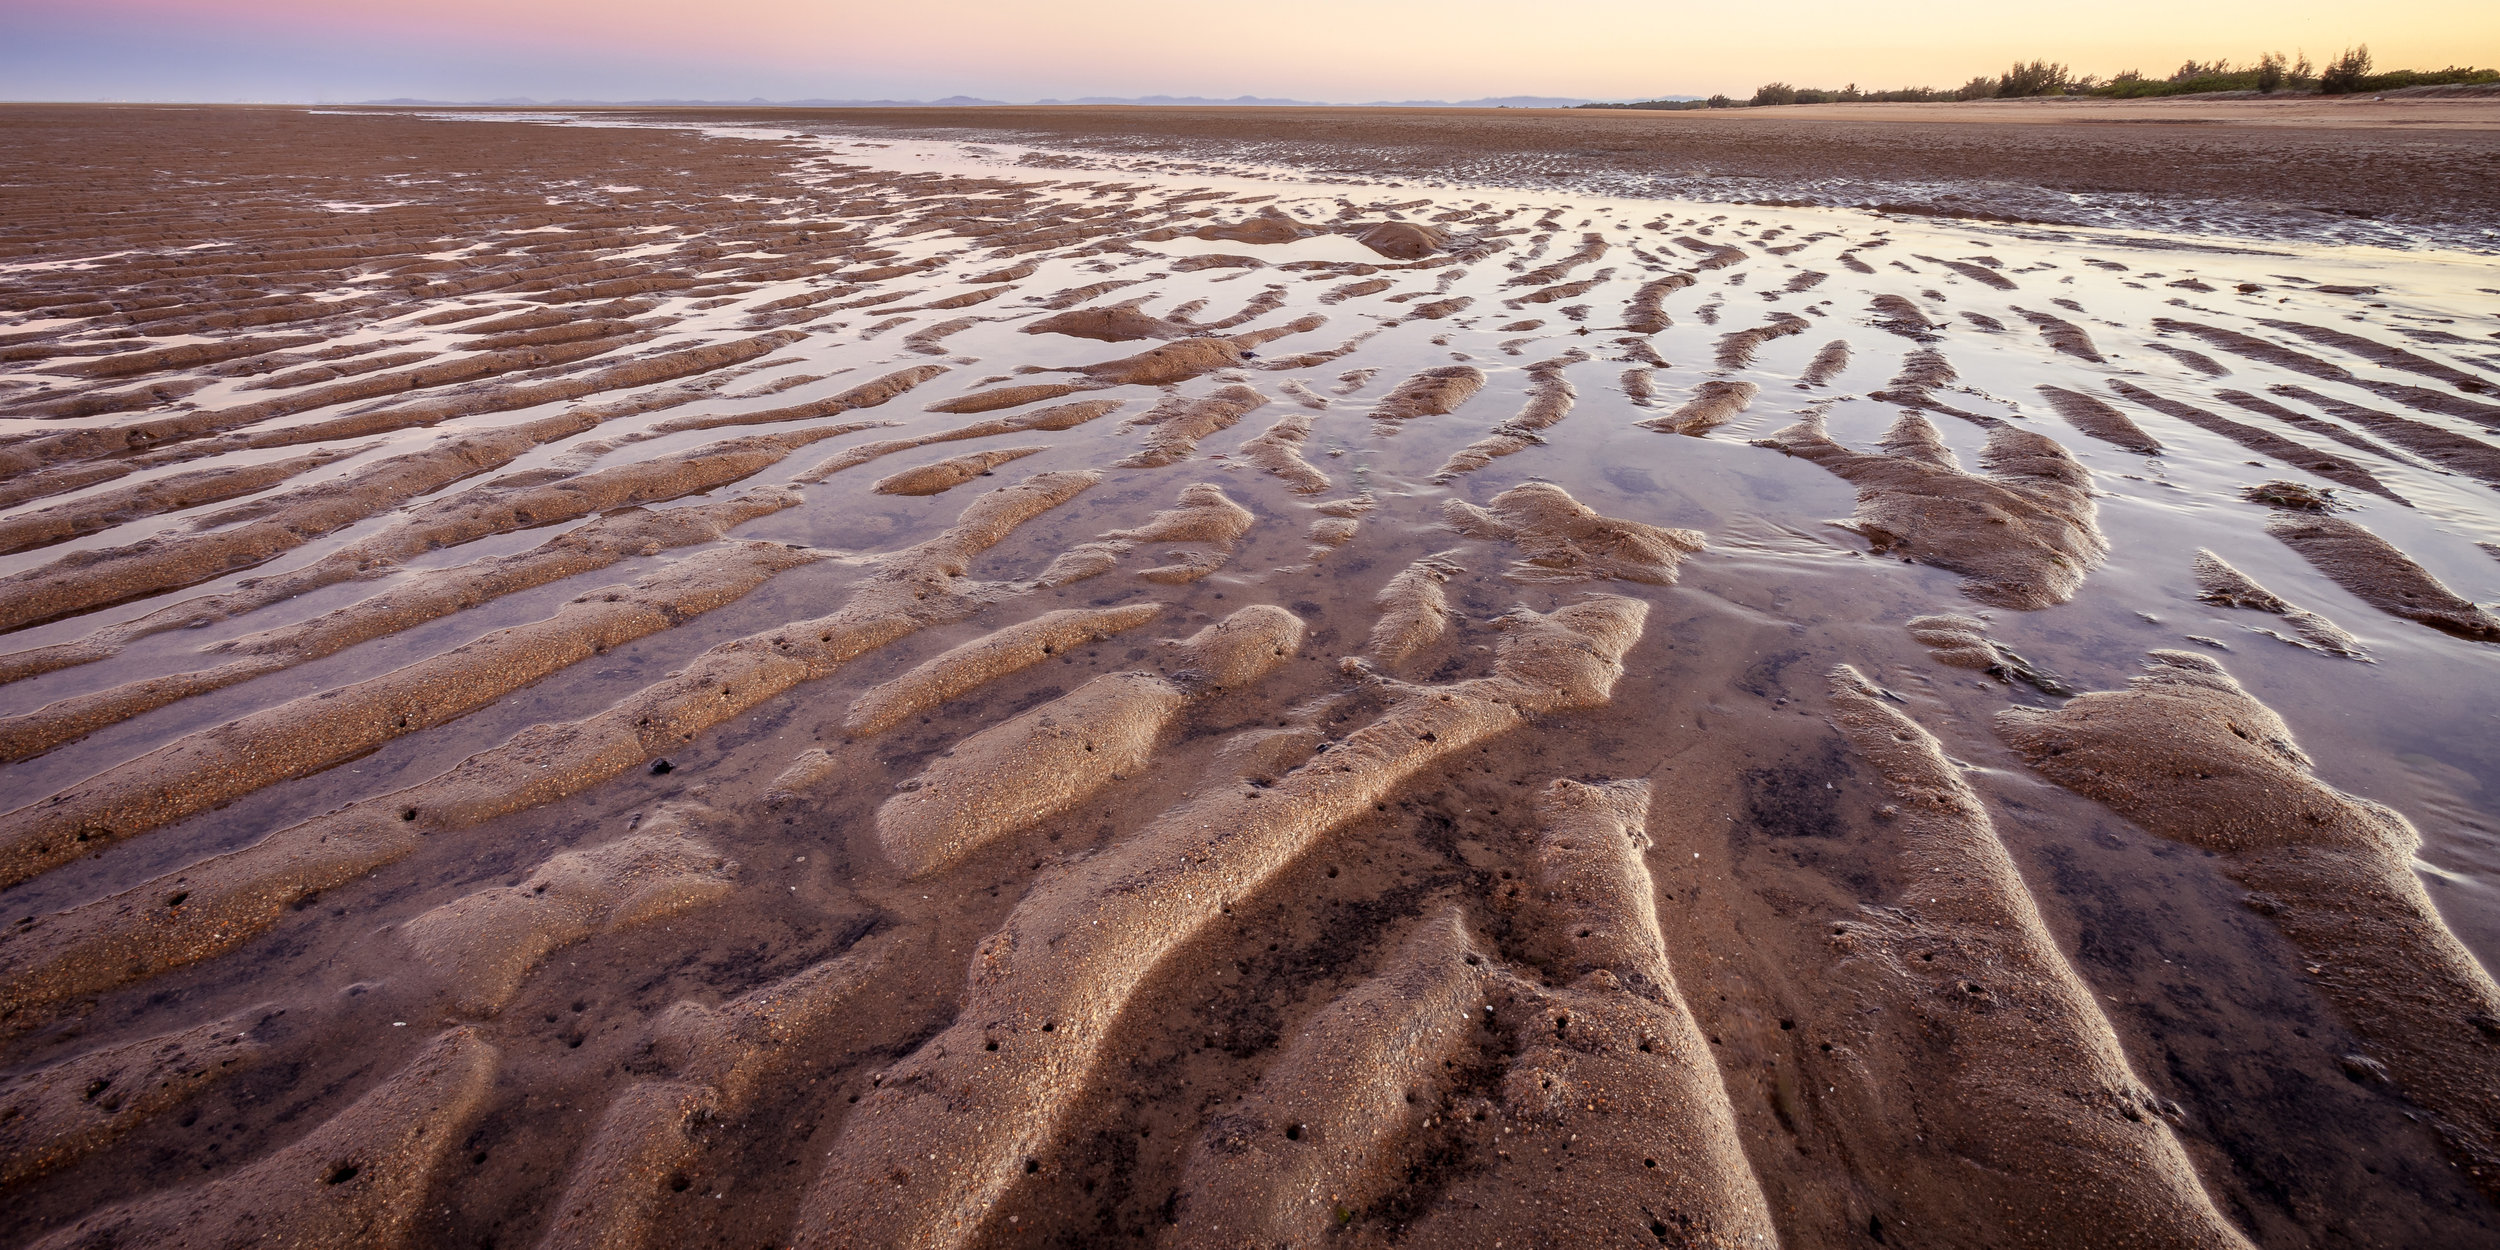
Patterns
Fine repeating patterns and make them happen.
If you can find a pattern where one of the parts in different in some way, different colour, size or flipped, then you have struck gold.


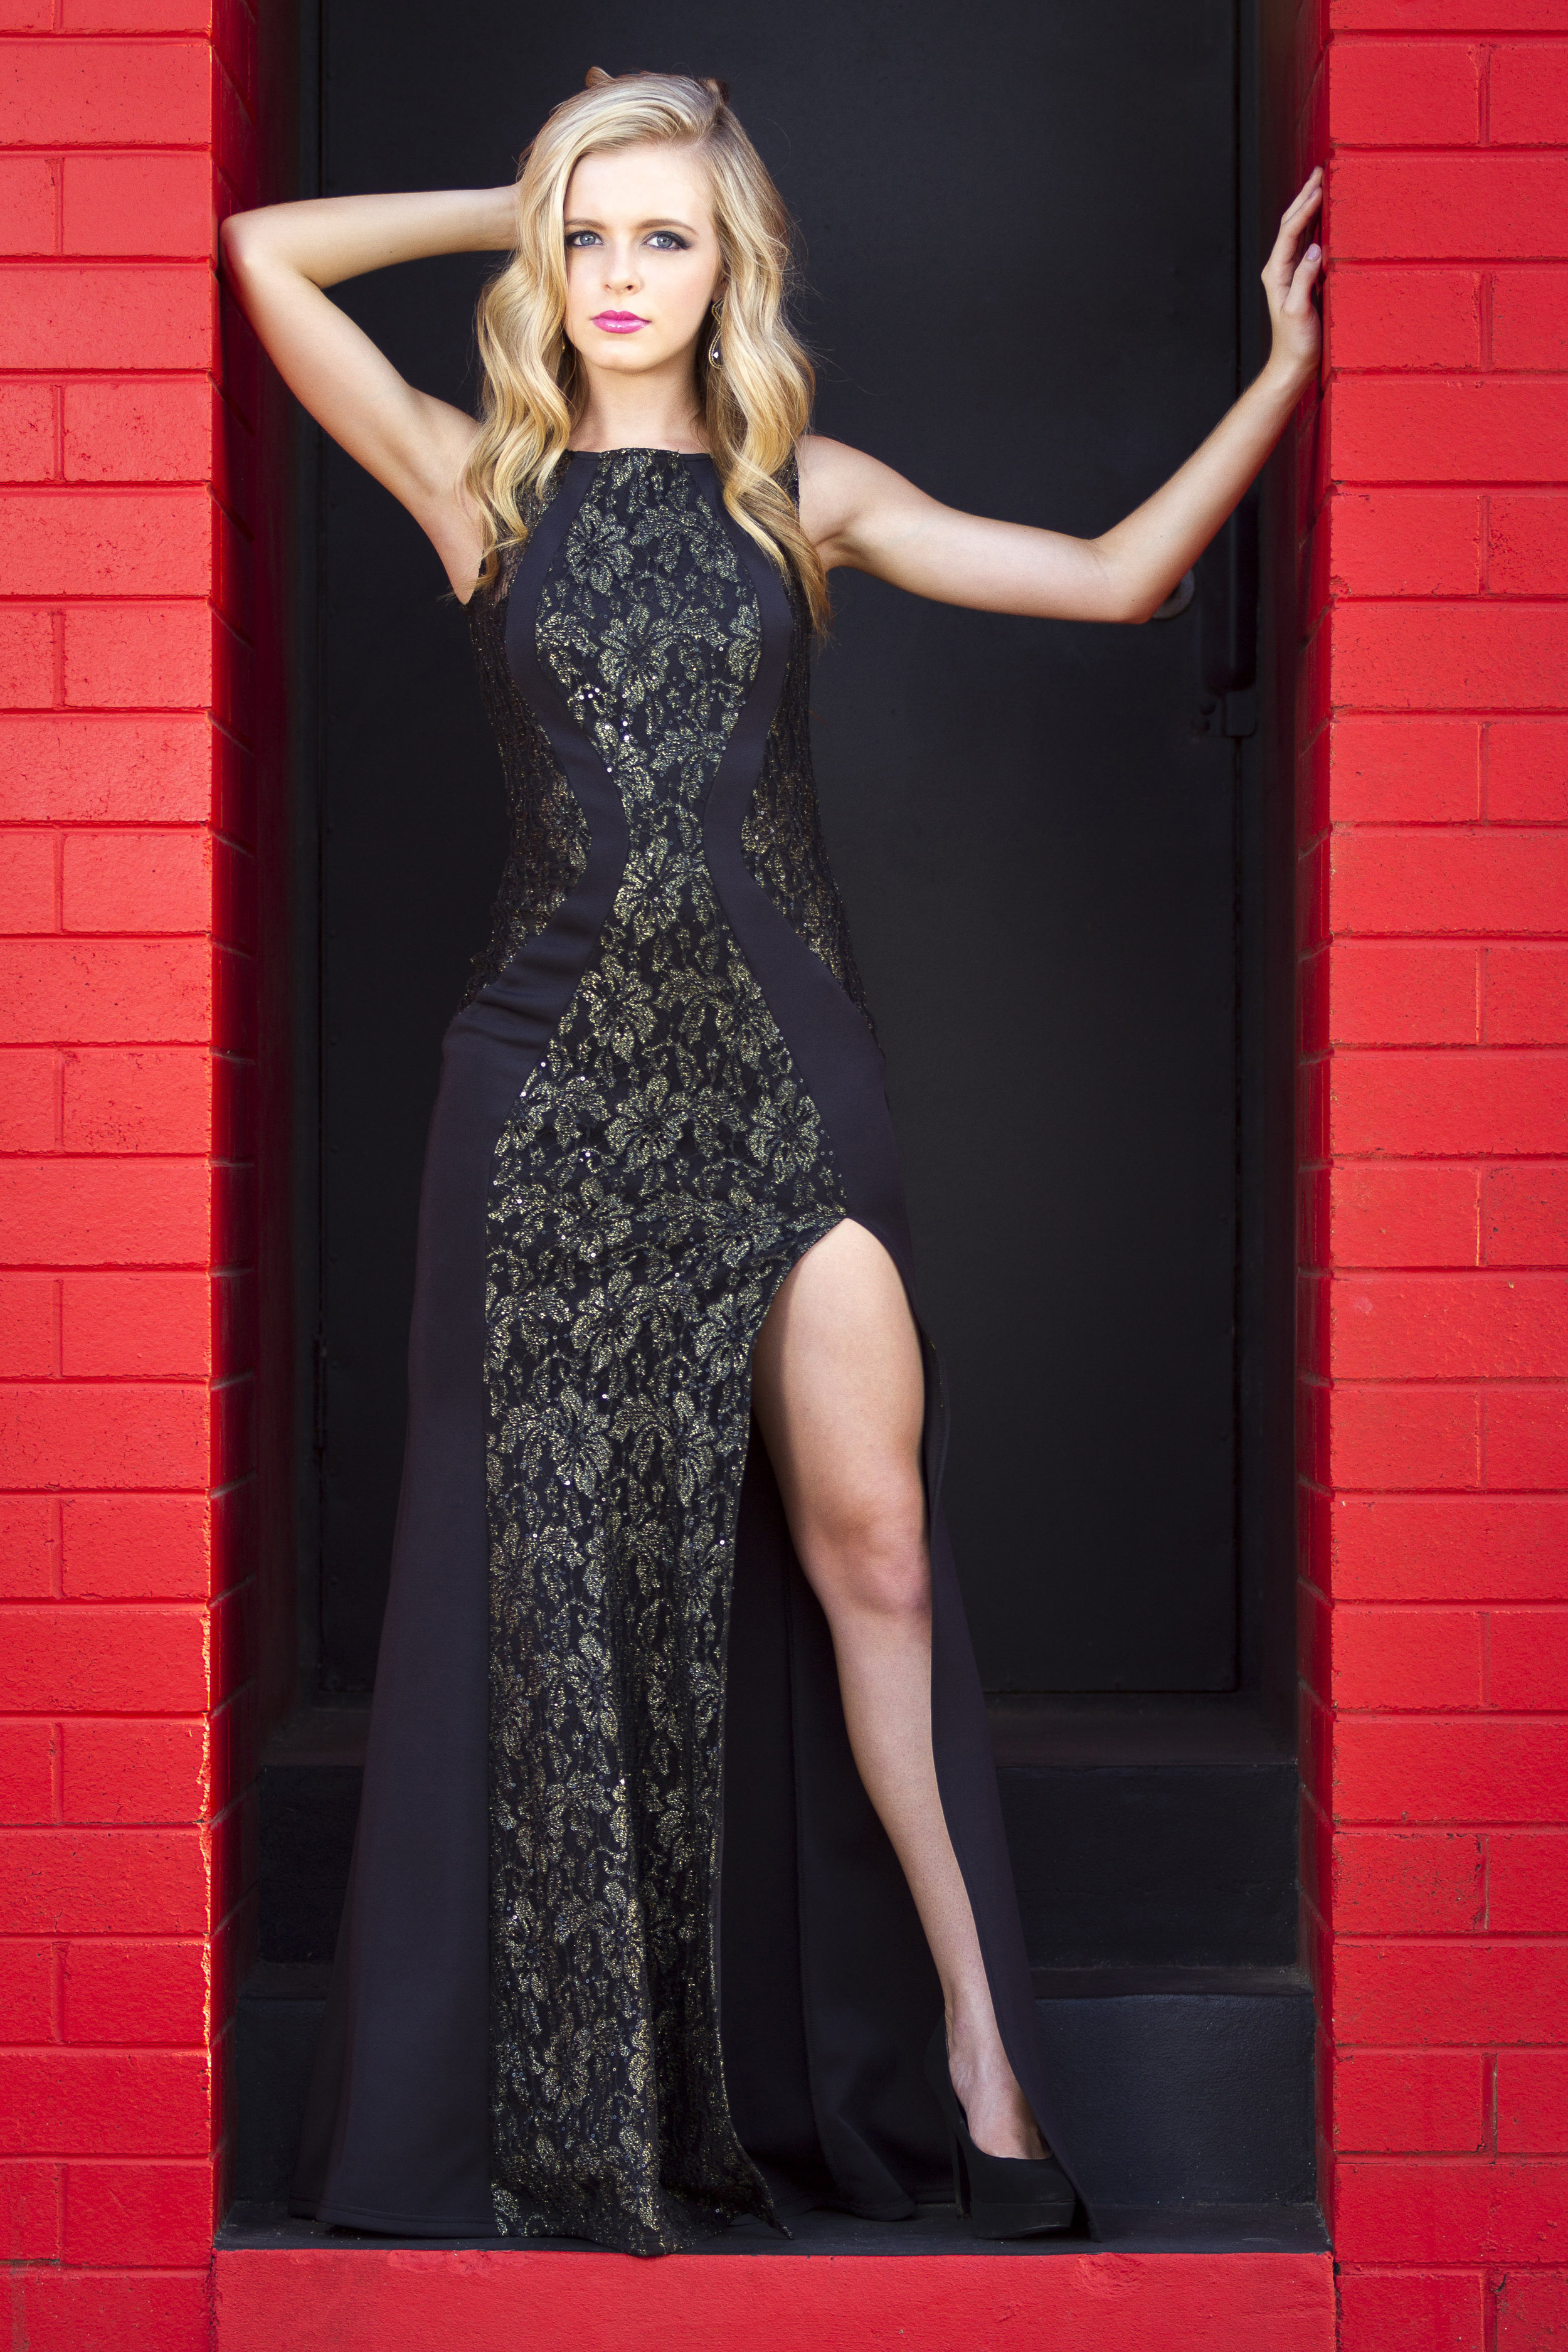
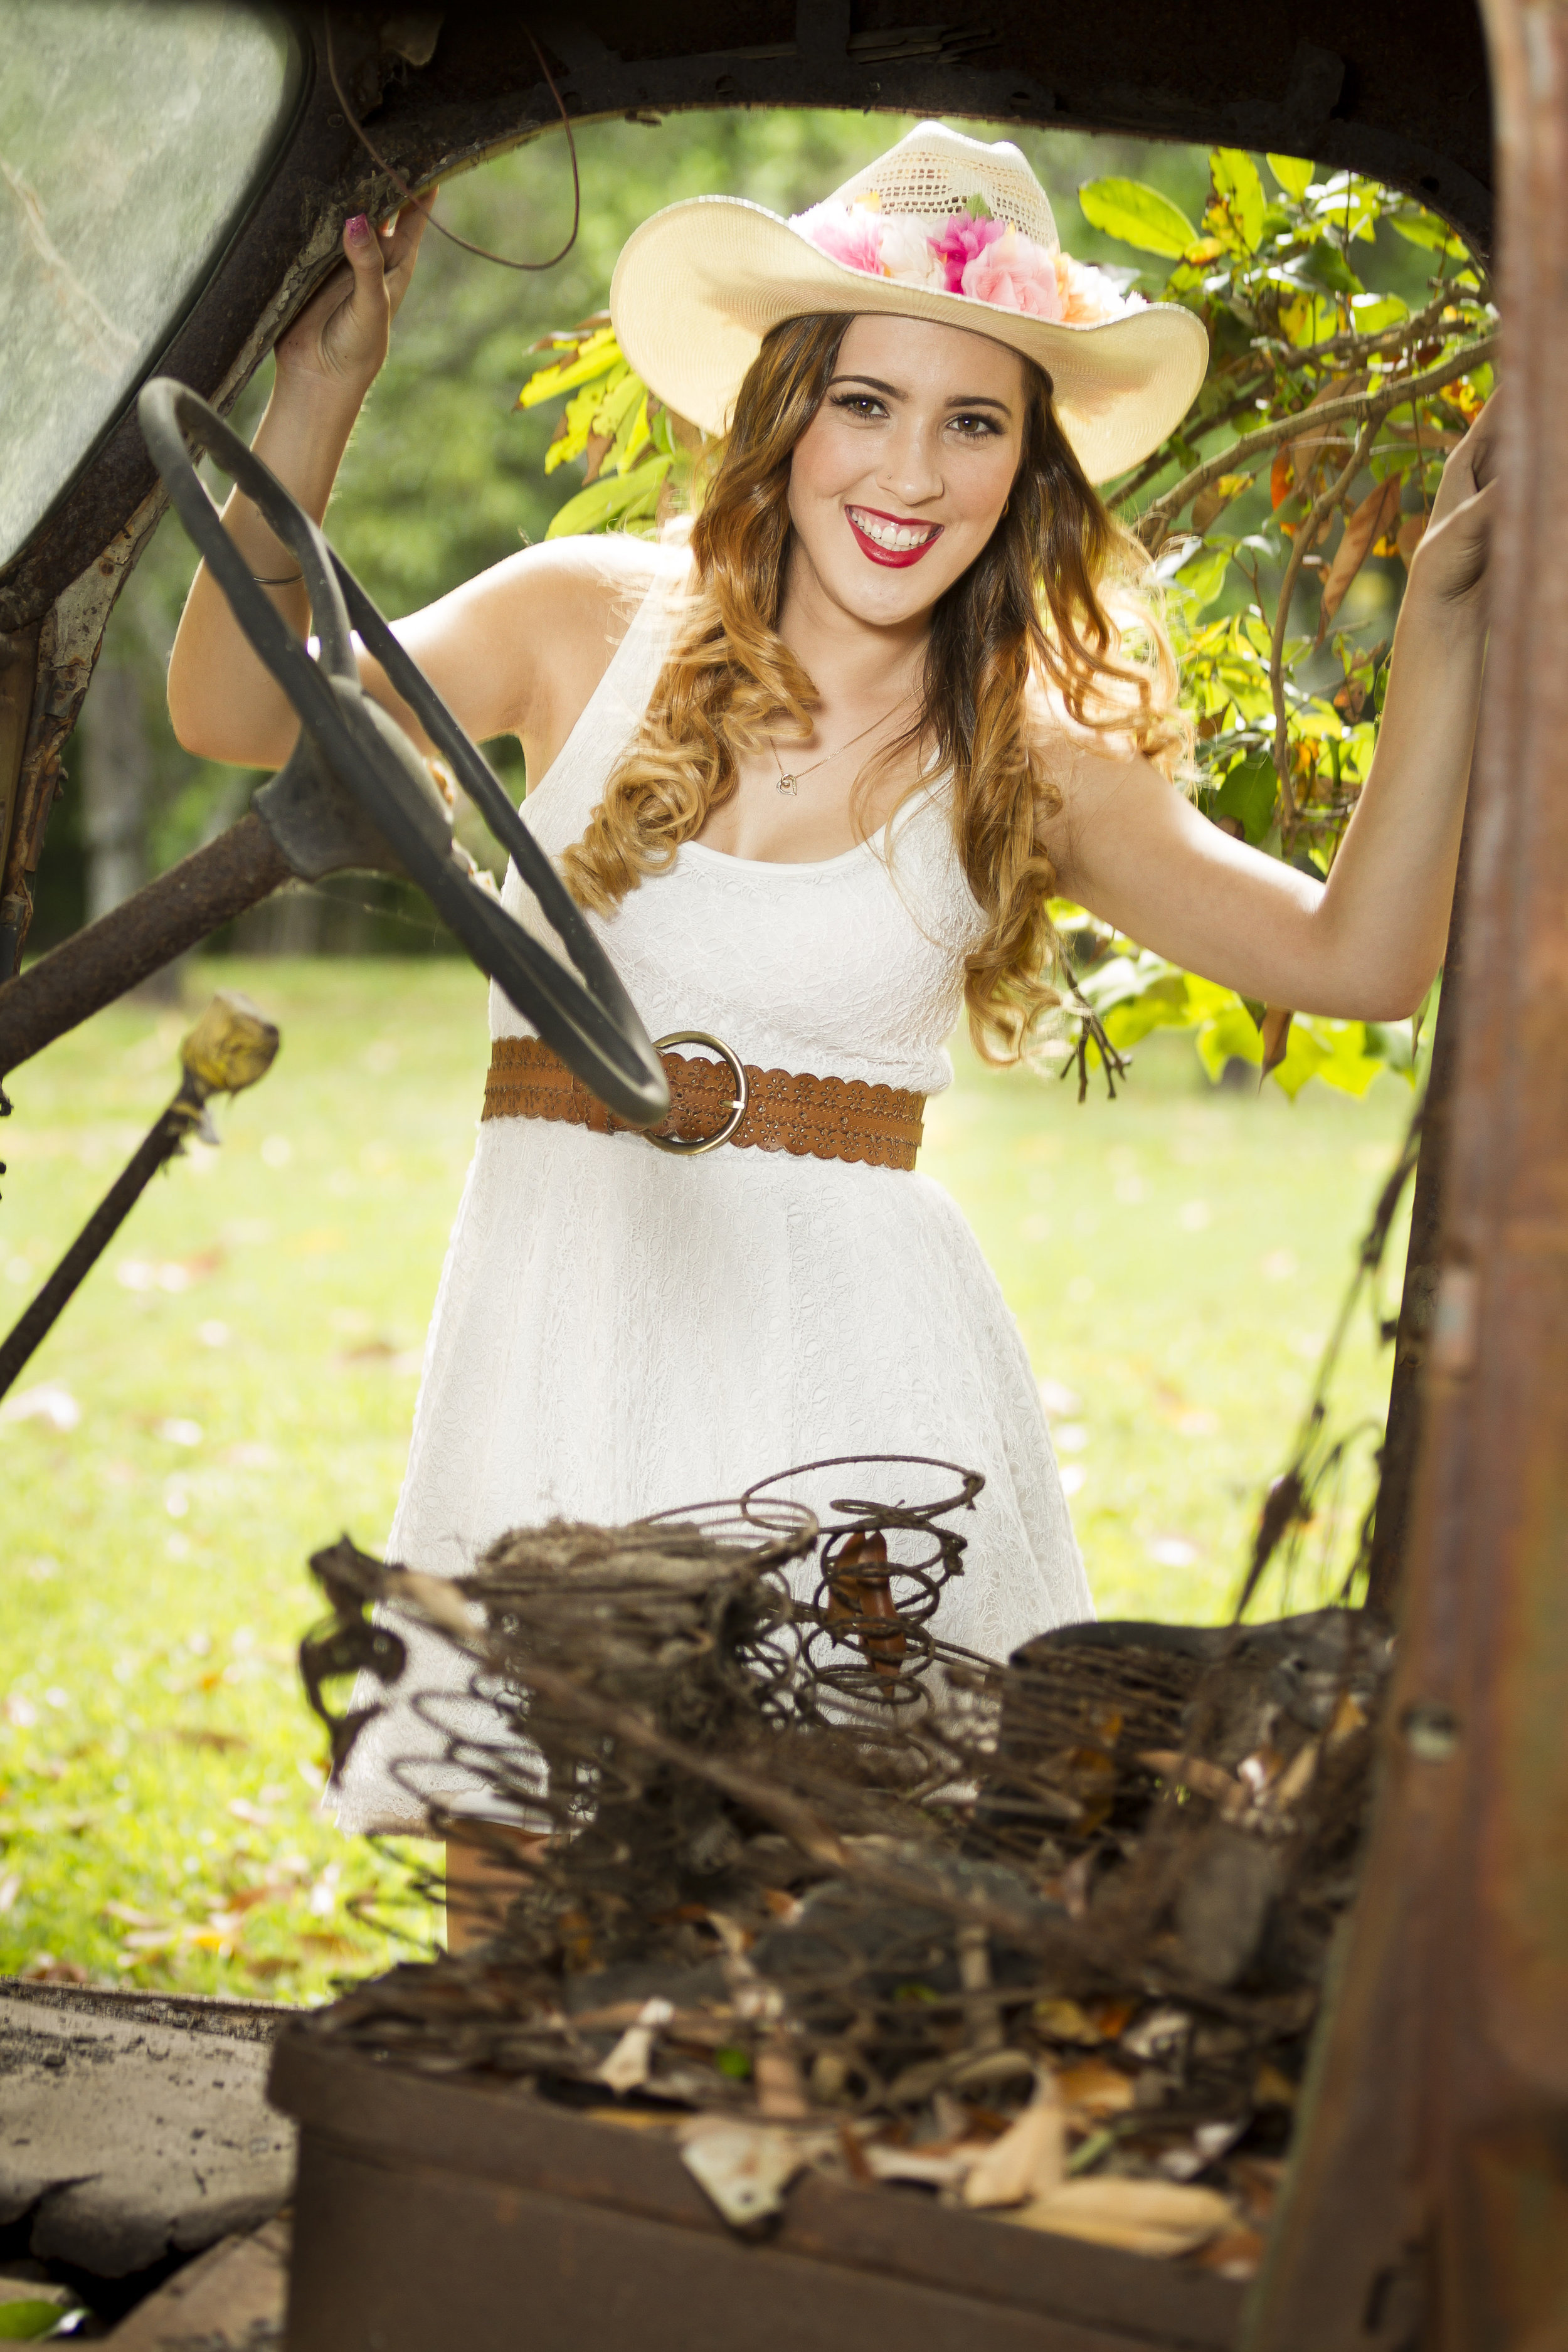
Frames
1, Find a frame. 2, Put something inside that frame. 3, Take the photo.
It doesn't have to be a door or a window, it could be trees or rocks, just find something to frame up your subject.

Practical Guides
The biggest issue with the 'Rules of Composition' is they are really easy to point out in finished images but it can sometimes be hard to work out what will work best when you are out taking photos. Here we are going to look at some practical things you can do to help find good compositions while you have your camera out in the world.
Find your subject
Your image is going to need a subject. It's what your image is all about and identifying what it is will guide you during the rest of the image making process. Your subject can be:
- A human, animal or insect.
- Body part, eyes, lips, belly button, hands etc.
- Flower, Tree or plant.
- Fruit, vegetable or other food.
- Toy, vase, bowl, tool or other still life objects.
- Building or part of a building (doorway, arch, window etc.
- Mounting, river, waterfall, lake or rock.
- A pattern, reflection, geometric shape.
- Textures.
- Light, sun, moon or rays of light.
- Something else (Damo has a limited imagination).
Find the right viewpoint
Now you know what your subject is you need to move around and find the right viewpoint with an appropriate background, field of view and placement in the frame.
When looking for a background for your image you need to consider:
- Does the scene around the subject add to the story around your subject? If it does you need to capture it in enough detail to provide that information to the viewer. If not you need to minimise it so it doesn't distract from the subject.
- Is there anything protruding out of or cutting through the subject? Make sure they don't have a stick going through their head or anything distracting like that.
- Are there any elements in the background that will steal the attention away from the subject? Don't let your subject get upstaged by a bright light or out of place colour.
- Separation of your subject and the background. Make sure the subject isn't lost in a background that is the same colour and texture as your subject and if you can leave a little room around it to keep it away from other elements in your image. You can also use a shallow depth of field to blur out the background and make your subject pop.
To help you find the right background and setting try the following: Move left and right. Move up and down. Move closer and move far away. Zoom in and zoom out. Don't just set up your tripod until you have found where you want to shoot from.
Position your subject in the frame
It's time to move your subject around the frame. Place it on one of the thirds for a dynamic effect or in the very centre for a symmetrical look. Fill the frame with your subject or make it really small in a vast field. Move it until you are happy with the placement but one tip that may help is to make sure your subject isn't look out or moving out of your frame. If they are then your viewer is being encouraged to move their eyes out of the image which is the opposite of what you want. If your subject is moving, give them somewhere to go. If they are looking, get them to look into the image.
Work the camera settings
When you are happy with the framing of the image use your camera's settings to make the most out of the image. I have some Photo Recipes that can help give you a guide to what you might want to start with but experiment with these as well. Try a slower shutter to capture some movement, or a large depth of field to capture the entire scene in detail. If it isn't working then try something else until you are happy with the results.
Don't be Afraid to Fail
There is a myth that great photographers only take amazing images. This is just not true. The amazing images you see are often the result of lots of hard work and dozens of failed attempts. There are hundreds of terrible photos that have crossed their memory cards and there will be many more disaster images in the future.
With practice you will learn what works for you and what doesn't and you will need to do less experimenting as you find the things that never work out. However you will always need to work the scene to make the best image you can. Keep trying and never be afraid to try a different angle or framing because there is always a chance it will work.